Why Go Passwordless?
Passwords are the weakest link in account security. Microsoft estimates that passwords are involved in over 18 billion attacks every year — roughly 579 attacks per second. Weak or reused passwords are the primary entry point for account takeovers, phishing, and credential-stuffing attacks.
The good news: Microsoft has made it genuinely easy to remove your password entirely. Since September 2021, all personal Microsoft accounts can go passwordless. And since May 2025, new Microsoft accounts are passwordless by default. Once you make the switch, you’ll sign in with something you have (your phone or a security key) and something you are (fingerprint, face, or PIN) — far harder to steal than a string of characters.
This guide walks you through every step, covers all four passwordless options, and explains what changes after you remove your password.
What You’ll Need
Before removing your password, make sure you have at least one of the following set up:
- Microsoft Authenticator app (iOS or Android) — the most common path
- Outlook for Android — also supports passwordless sign-in
- Windows Hello (Windows 10/11) — if you sign in to Windows with a Microsoft account
- A FIDO2-compatible security key (USB or NFC) — for advanced users
You also need access to at least one verified email address or phone number on your Microsoft account as a backup recovery method.
Method 1: Microsoft Authenticator App (Recommended)
This is the most straightforward path for most users. The Authenticator app turns your phone into a secure authentication key.
Step 1: Install Microsoft Authenticator
Download Microsoft Authenticator from:
- Google Play Store (Android)
- Apple App Store (iOS)
After installing, open the app and grant the required permissions (camera for QR code scanning, notifications for push alerts).
Step 2: Add Your Microsoft Account to the App
If you haven’t added your Microsoft account to Authenticator yet:
- In the Authenticator app, tap Add account.
- Select Personal account (Microsoft account).
- Follow the prompts to sign in with your existing email and password.
- Complete two-step verification if prompted.
Your account now appears in the Authenticator main screen with a 6-digit rotating code — that’s the two-step verification layer. For passwordless sign-in, we need one more step.
Note: If you already use Authenticator with two-step verification turned on, that’s fine — the passwordless toggle works on top of your existing setup.
Step 3: Enable Passwordless Sign-In
- Open a browser and go to https://account.microsoft.com/security.
- Sign in with your Microsoft account.
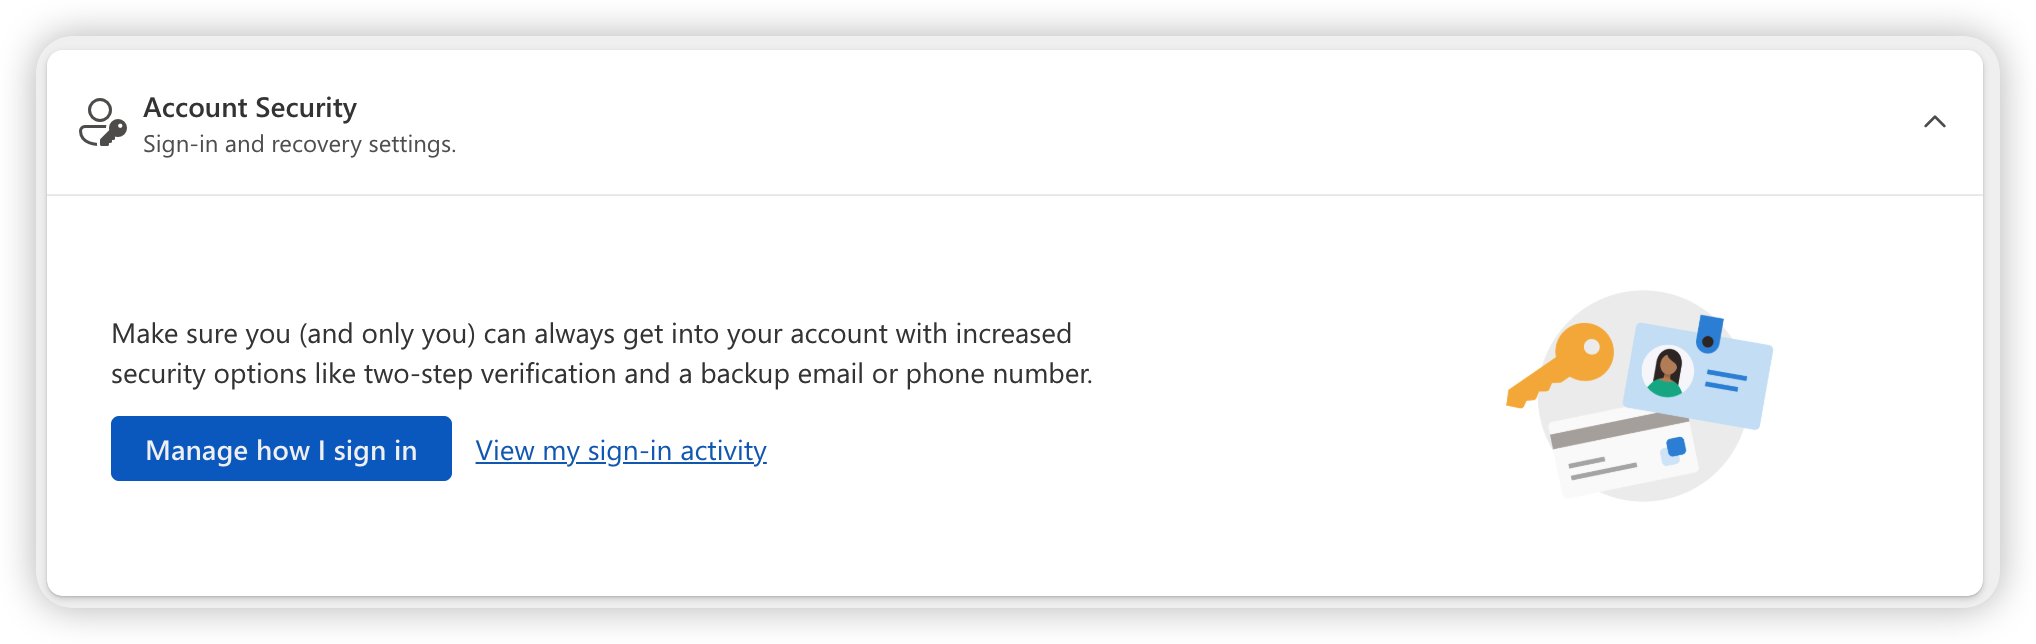
- Click Manage how I sign in (under “Account Security”).
- Scroll to Additional security and find Passwordless account
- Click Turn on.
- Follow the prompts to confirm your identity.
- Approve the sign-in request that appears in the Authenticator app on your phone.
Once approved, your password is removed. You’ll see a confirmation message on the screen.
Step 4: Verify Your New Sign-In Experience
The next time you’re asked to sign in to any Microsoft service (Outlook, OneDrive, Xbox, Microsoft 365, etc.):
- Enter your email address.
- On the next screen, instead of a password field, you should see “Approve a request on your Microsoft Authenticator app”.
- A push notification arrives on your phone. Open it and tap Approve.
- If prompted, confirm with your phone’s PIN or biometric (fingerprint / Face ID).
That’s it — no password to type, no code to copy.
Method 2: Windows Hello (If You Use a Microsoft Account on Windows)
If your PC runs Windows 10 or Windows 11 and you sign in with a Microsoft account, Windows Hello may already be available. Windows Hello uses your device’s biometric sensor or PIN to authenticate you to your Microsoft account — no password required.
Is Windows Hello Already Set Up?
If you set up a PIN, fingerprint, or face login when you first used your PC, Windows Hello is already active. You can check:
- Windows 11: Go to Settings → Accounts → Sign-in options. You’ll see Windows Hello listed under “Ways to sign in.”
- Windows 10: Go to Settings → Accounts → Sign-in options.
If it’s not yet set up, here’s how to enable it:
- Go to Settings → Accounts → Sign-in options.
- Expand Windows Hello Face, Windows Hello Fingerprint, or Windows Hello PIN (you only need one).
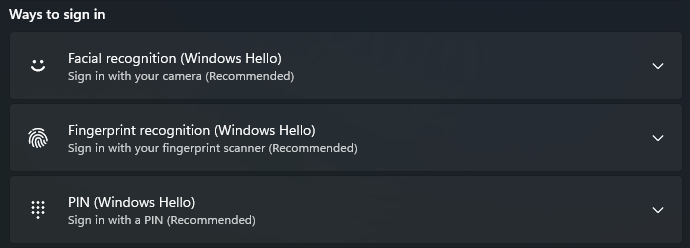
- Click Set up and follow the on-screen instructions to register your biometric data or create a PIN.
Sign In with Windows Hello
Once Windows Hello is configured for your Microsoft account, your sign-in flow changes:
- On the account.microsoft.com login page, after entering your email, select “Sign in with Windows Hello” or “Use a security key”.
- Authenticate on your PC using your fingerprint, face, or PIN.
Windows Hello is particularly convenient because the authentication is tied to your physical device — a compromised password somewhere else won’t help an attacker get into your PC.
Method 3: Passkey (FIDO2 — Works on Any Platform)
A passkey is a cryptographic credential tied to your device. Unlike a password, a passkey cannot be phished, guessed, or reused. It uses public-key cryptography: your device holds the private key, and the website receives only a cryptographic proof that the key exists — without ever transmitting the key itself.
Microsoft supports passkeys for all personal accounts. Here’s how to set one up:
Step 1: Go to the Passkey Setup Page
Visit https://aka.ms/addproof while signed into your Microsoft account.
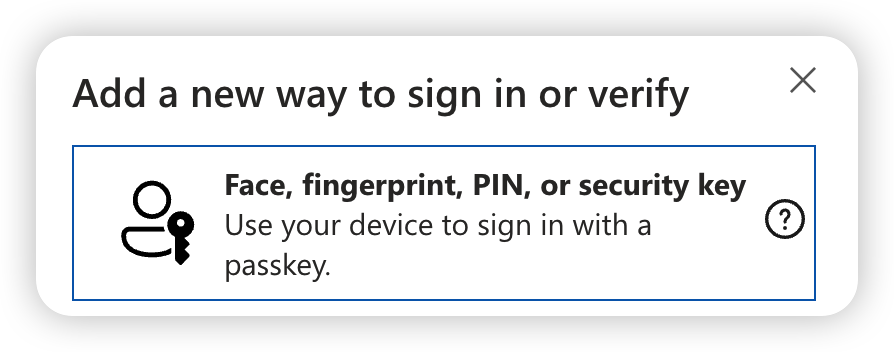
You can also reach this from https://account.microsoft.com/security → Manage how I sign in → Add another way to sign in to your account. → Face, fingerprint, PIN, or security key.
Step 2: Choose Your Method
Select the platform and authentication method you want to use:
- Windows 11/10 — Use Windows Hello (face, fingerprint, or PIN)
- macOS — Use Touch ID or a hardware security key
- iOS 16+ — Use Face ID or Touch ID via iCloud Keychain
- Android — Use fingerprint or face unlock via Google Password Manager
- Hardware key — Insert a FIDO2-compatible USB security key (e.g., YubiKey)
Step 3: Verify and Name Your Passkey
Follow the on-screen prompts to authenticate with your chosen method. You’ll then be asked to give the passkey a descriptive name (e.g., “Work Laptop”, “Personal iPhone”, “YubiKey 5C”) so you can manage multiple passkeys later.
Step 4: Test It
Sign out of a Microsoft service and sign back in. When prompted, choose “Sign in with a passkey” and authenticate with your enrolled device.
Passkeys sync through iCloud Keychain (Apple), Google Password Manager (Android), or your hardware key — meaning you can sign in from any device that supports the relevant ecosystem.
Method 4: Physical Security Key (FIDO2)
For users who want the highest level of security — or who work in environments where hardware tokens are required — a FIDO2 security key is the most phishing-resistant option.
A security key is a small physical device (USB-A, USB-C, or NFC) that stores your cryptographic credentials. Even if someone steals your key, they cannot use it without your PIN or biometric.
Supported Keys
Microsoft supports any FIDO2-certified security key. Popular options include:
- YubiKey 5 series (USB-A, USB-C, NFC)
- Feitian ePass series
- Solo/SoloKeys
- Google Titan Security Key
How to Register a Security Key
You can read the detailed steps from Microsoft Support: Set up a security key as your verification method
To sign in after registering: when prompted, insert or tap your key, enter your PIN, and you’re in.
Security keys are ideal as a backup to Authenticator or Windows Hello — register more than one if you have them.
How Sign-In Changes After You Remove Your Password
Once your password is gone, every Microsoft sign-in screen changes:
| Old way | Passwordless way |
|---|---|
| Enter email → enter password | Enter email → approve push notification on your phone |
| Risk: password stolen in phishing | Risk: attacker needs your physical device + biometric/PIN |
| Password reuse across sites | Each method is device-bound and non-transferable |
| Password reset = security questions or email | Recovery = any enrolled method (Authenticator, passkey, key) |
Microsoft also updated the login UI in 2025 to prioritize passwordless options — the “Sign in with a password” button is now de-emphasized.
Account Recovery: What If You Lose Your Phone or Key?
This is the most important thing to understand before going passwordless. Microsoft requires at least one recovery method on file.
Recommended Recovery Setup
Before removing your password, verify these are up to date in account.microsoft.com/profile:
- A verified recovery email address (not your primary email — a separate one you can always access)
- A phone number for account recovery codes (though SMS is being phased out — see below)
- Additional Authenticator device or passkey if possible
If you lose your primary device:
- Microsoft will send a recovery code to your verified email address.
- Enter the code on the account recovery page to regain access.
- Set up a new Authenticator or passkey on your replacement device.
Important: SMS Codes Are Being Phased Out
Microsoft is actively reducing SMS as an authentication and recovery method for personal Microsoft accounts. The official support documentation (last updated May 2026) states that new phone numbers can no longer be added, and SMS verification codes are being phased out in favor of passkeys, Authenticator, and verified email recovery.
If you currently rely on SMS as your only backup, add a recovery email address and set up at least one Authenticator account now — before you need it.
Quick Comparison: Which Method Should You Use?
| Method | Best for | Requires | Setup effort |
|---|---|---|---|
| Microsoft Authenticator | Most users; mobile-first | Smartphone | Low |
| Windows Hello | Windows desktop/laptop users | Compatible PC + PIN/biometric | Low |
| Passkey | Cross-platform users; privacy-conscious | Compatible device or browser | Medium |
| Security Key | High-security users; enterprise | Hardware purchase | Medium |
Most users will find Microsoft Authenticator the easiest path — it works on any phone and covers both everyday sign-ins and recovery.
Frequently Asked Questions
Does removing my password mean my account is less secure?
No. Passwordless methods are more secure than passwords. A password can be guessed, stolen in a data breach, or phished. Passwordless authentication uses cryptographic keys tied to your physical device and your biometric — neither of which can be copied from a database leak.
What if I need to sign in on a device that isn’t mine?
You can use:
- Microsoft Authenticator on your phone to approve a sign-in on any browser
- A passkey synced to your cloud keychain (iCloud, Google Password Manager)
- Recovery codes provided by Microsoft when you set up passwordless
All of these work on shared or public devices without exposing your password. You do not need the physical device that holds your passkey — you just need a browser where you can approve the Authenticator notification.
Can I still use a password if I change my mind?
Yes. In your account security settings, you can re-add a password at any time. However, Microsoft notes that once you experience passwordless sign-in, you’ll likely find passwords inconvenient by comparison.
Does this affect my Windows login password?
Removing your Microsoft account password only affects signing into Microsoft online services (account.microsoft.com, Outlook.com, Microsoft 365, Xbox, etc.). Your Windows PC login is a separate setting. To make Windows itself passwordless, you would configure Windows Hello and use it at the lock screen — but your Windows local/Microsoft account password and your Microsoft account password are technically independent.
What about work or school accounts (Microsoft Entra / Azure AD)?
This guide covers personal Microsoft accounts (MSA). Work and school accounts managed by an organization use Microsoft Entra ID (formerly Azure AD). The passwordless options are similar, but configuration is controlled by your organization’s IT department. Check with your IT admin before making changes on a work account.
