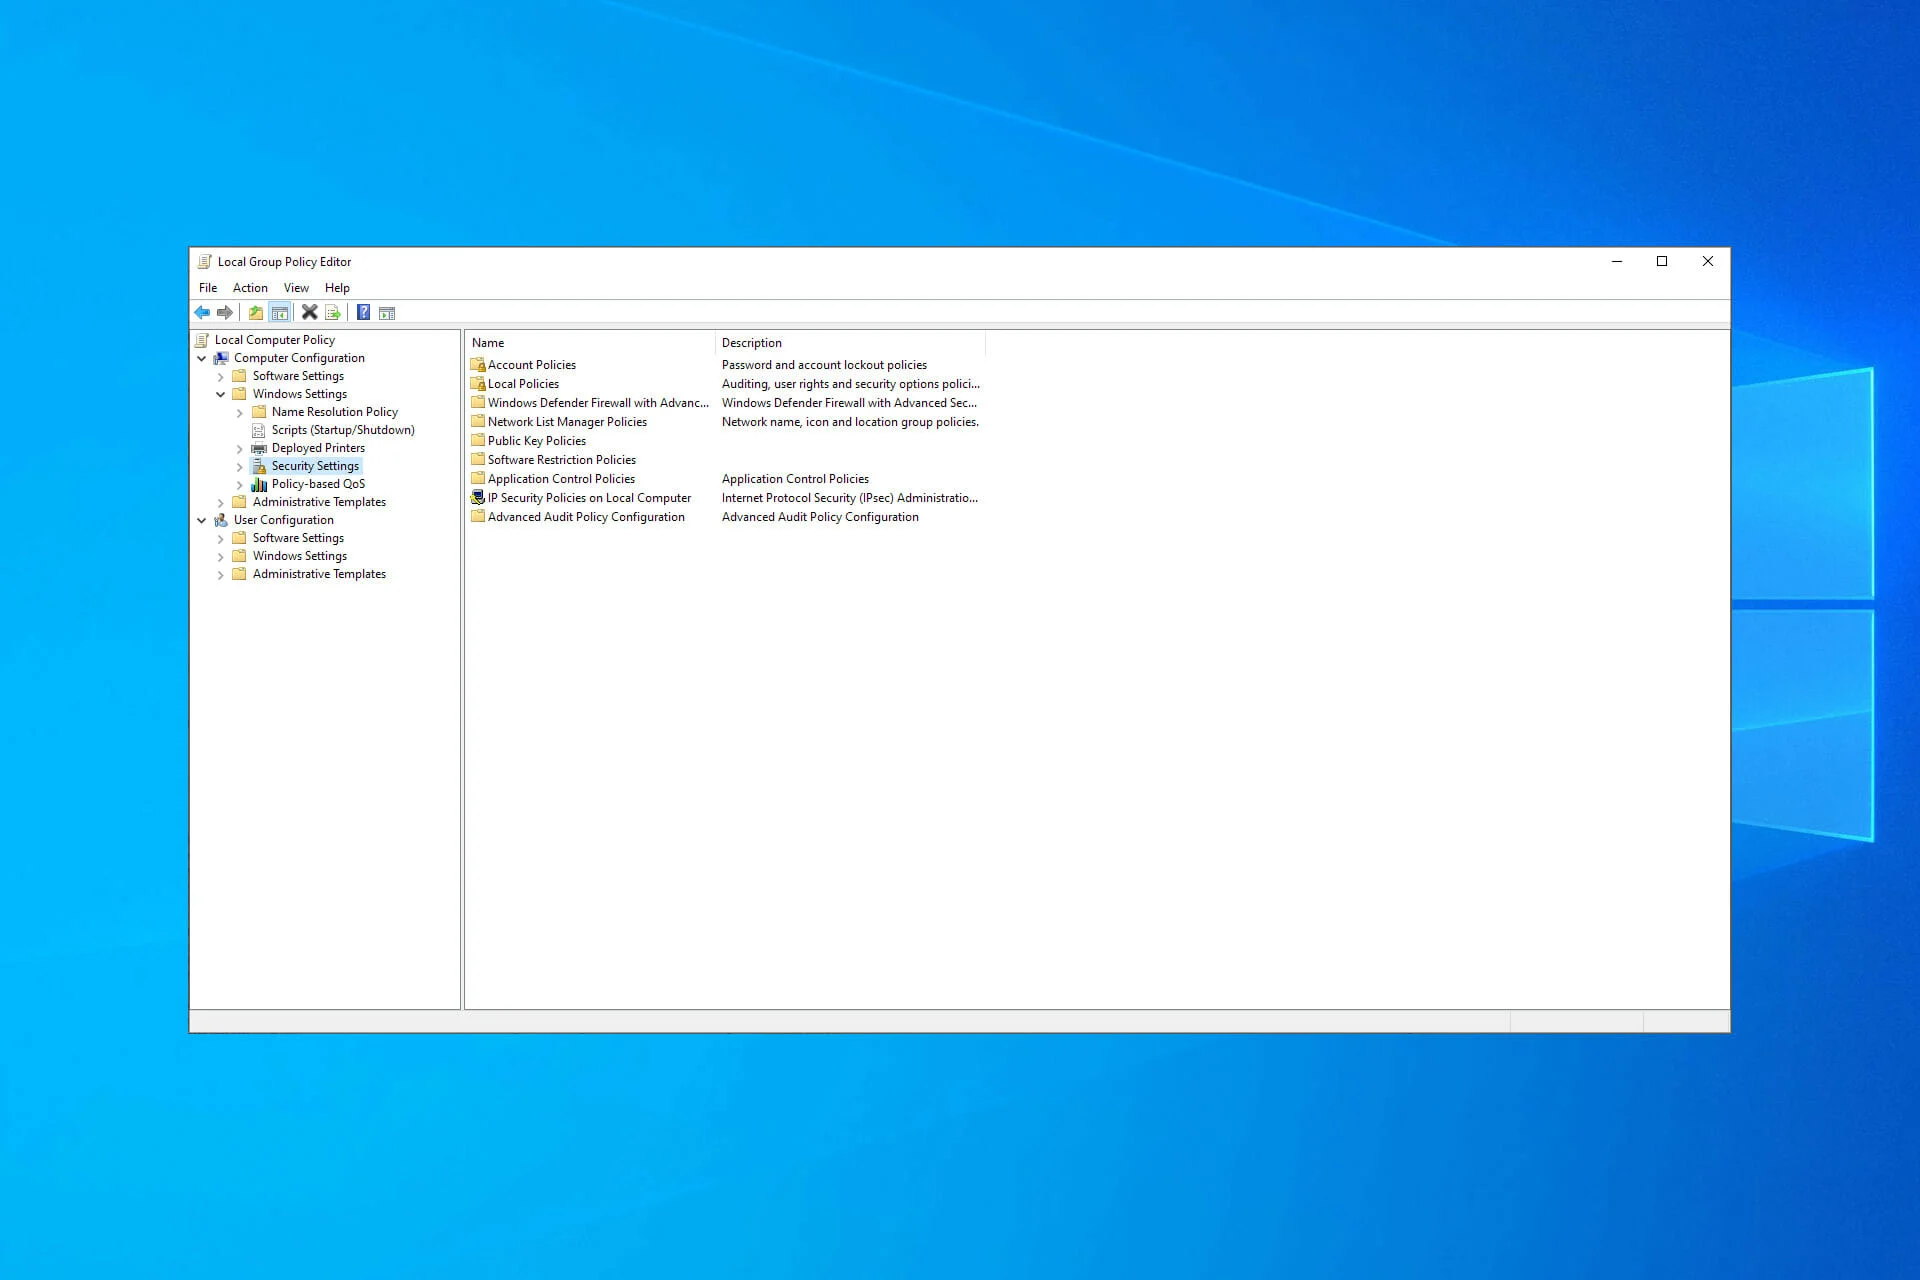
In the process of using Windows 11 Home Edition, many users encounter a perplexing issue when trying to open the Group Policy Editor—“Windows cannot find gpedit.msc.”
This leaves those unfamiliar with system management tools confused: Why is this powerful tool missing in the Home edition? In this article, we will explore the reason behind this, and offer two solutions to help you enable the Group Policy Editor on Windows 11 Home Edition.
Why is the Group Policy Editor missing in Windows 11 Home Edition?

First, let’s understand what the Group Policy Editor is. The Group Policy Editor (gpedit.msc) is an advanced Windows tool typically used to manage user accounts, system configurations, and network settings. It holds particular importance in corporate and professional environments, allowing administrators to make deep adjustments to system behavior. Because of this, Microsoft has disabled the feature by default in the Home edition, intending to simplify the system and prevent casual users from being overwhelmed by complex management tools.
The Home edition of Windows is primarily designed for standard home users, while the Enterprise and Pro editions are aimed at IT professionals and business environments. As a result, advanced features like the Group Policy Editor are removed from the Home edition, leaving users with simplified settings options. However, for those who desire greater freedom to customize their systems, this limitation can feel restrictive.
How to enable the Group Policy Editor on Windows 11 Home Edition?
Fortunately, even though the Group Policy Editor is not available by default in the Home edition, it can still be enabled through some simple steps. Below, I will outline two different methods.
Method 1: Using the DISM Command
DISM (Deployment Imaging Service and Management) is a Microsoft tool typically used to repair and manage Windows system images. By running the following command, you can install the relevant management toolkit required for the Group Policy Editor in the Home edition.
- Open Command Prompt (with Administrator privileges). You can press Win + X, and select “Command Prompt (Admin)” or “Windows PowerShell (Admin).”
- In the Command Prompt, enter the following command(no line breaks):
dism /online /add-capability /CapabilityName:Rsat.GroupPolicy.Management.Tools~~~~0.0.1.0 - Press Enter and wait for the command to execute. This command will download and install the Group Policy Management Toolkit.
This method is straightforward, particularly for users comfortable with command-line operations. Once the installation is complete, you can access the Group Policy Editor by pressing Win + R, then typing gpedit.msc.
Method 2: Using a Batch Script
If you prefer a more graphical approach, or if the DISM command fails to work, you can use a batch script to install the Group Policy Editor. This approach is slightly more involved but equally effective.
- First, open Notepad and paste the following code(referenced from WINSIDES.COM) into the document:
@echo off pushd "%~dp0" dir /b %SystemRoot%\servicing\Packages\Microsoft-Windows-GroupPolicy-ClientExtensions-Package~3.mum >List.txt dir /b %SystemRoot%\servicing\Packages\Microsoft-Windows-GroupPolicy-ClientTools-Package~3.mum >>List.txt for /f %%i in ('findstr /i . List.txt 2^>nul') do dism /online /norestart /add-package:"%SystemRoot%\servicing\Packages\%%i" pause - Save the file as EnableGPedit.bat, ensuring you select “All Files (.)” as the file type rather than the default text file.
- Find the saved batch file, right-click it, and select “Run as Administrator.”
- The script will automatically run and install the required components. This process may take a few minutes, and once it’s complete, the Group Policy Editor will be fully operational.
The Importance of Backing Up Your Data

Before making any system-level changes, it’s crucial to back up your data. While enabling the Group Policy Editor usually does not harm your system, there’s always a possibility of encountering unforeseen issues when installing system components or modifying system configurations.
If you want more stability and want to avoid manual system changes, we recommend upgrading to Windows 11 Pro.
You can back up your important data using Windows’ built-in tools or by creating copies of your files on an external storage device. To further safeguard your system, consider creating a system restore point, which will allow you to revert to a previous state in case something goes wrong.
Steps to Create a System Restore Point:
- In the taskbar search box, type “Create a restore point” and select the relevant option.
- Select your system drive (usually C:), then click “Configure.”
- Enable system protection and click “OK.”
- In the main window, click “Create,” give the restore point a name, and click “Create” again.
Conclusion
Although the Group Policy Editor is not included by default in Windows 11 Home Edition, by following the two methods outlined above, anyone can easily enable this tool and gain greater control over their system.
Whether you choose to use the DISM command or the batch script, make sure to back up your important data and carefully follow each step. With this, you can confidently customize your system and enjoy a more flexible Windows experience.
