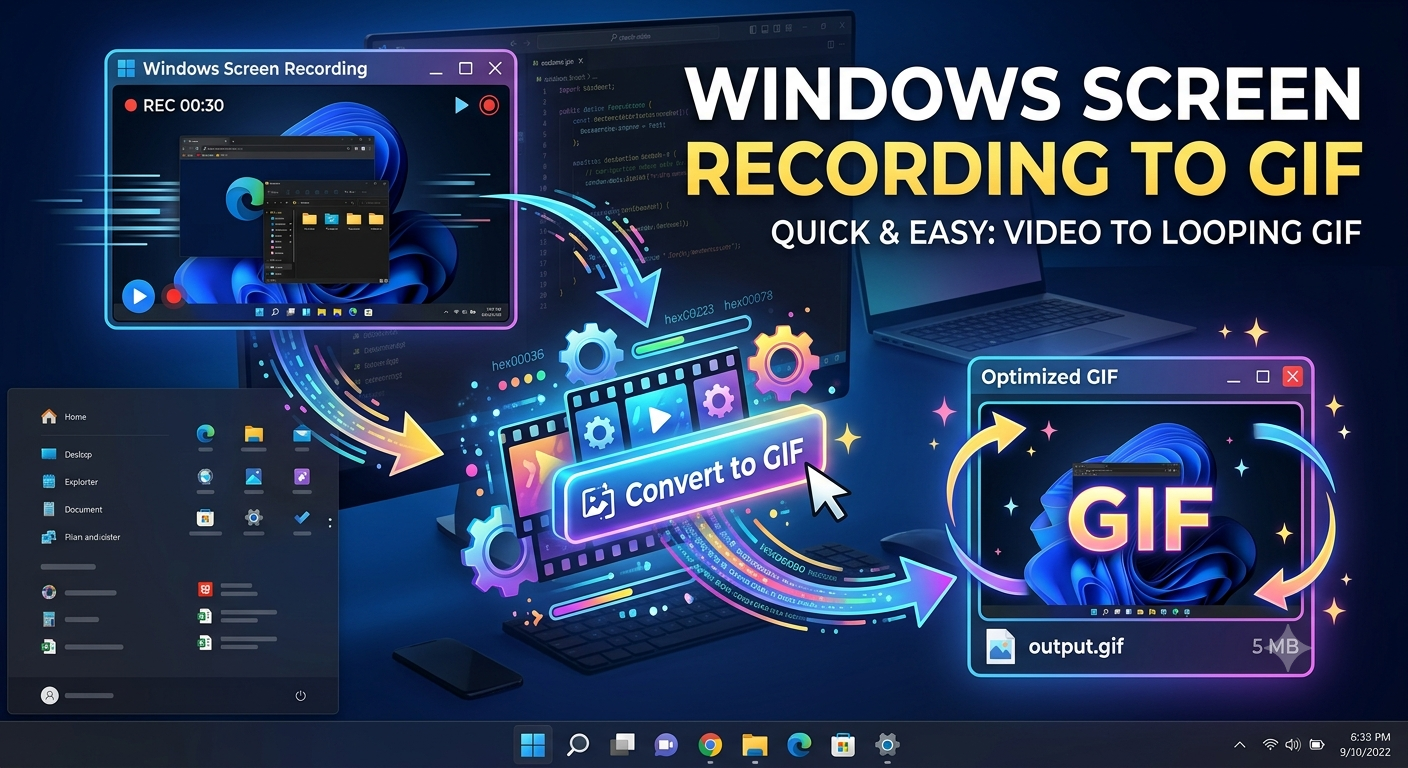
Sometimes you may need to take screenshots or screen recordings on Windows 11 for better presentation. The built-in Snipping Tool now supports both screenshots and screen recording, generating PNG and MP4 files by default.
If you want to share short animations but the platform doesn’t support video, GIFs are a great alternative. Fortunately, Snipping Tool also allows you to convert a screen recording into a GIF directly.
Follow these steps.
When should you use this method?
This method is useful when you want to create a GIF from a screen recording on Windows 11 and:
- You just recorded your screen using Snipping Tool
- You don’t want to install any third-party GIF maker
- You need a quick GIF for sharing (for example, in documentation, email, or chat)
- You don’t need advanced options like editing, compression, or frame rate control
Step 1: Screen recording
First, record your screen using Snipping Tool.
After you stop recording, you’ll see a preview of the video in a new window.
Don’t close the editor, because the option to export the recording as a GIF is only available in this window.
Step 2: Create GIF from the recording
In the editor, click the GIF button in the top-right corner.
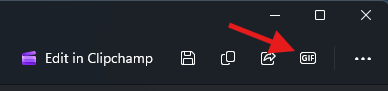
Then you’ll see a popup with two options:
- Low quality
- High quality
You may wonder which one to choose. It mostly depends on your usage.
How to choose the right GIF quality?
Low quality means a smaller file size, but lower visual clarity.
High quality means a larger file size, but better image quality.
But what does that actually look like in real usage?
I recorded a 1920×1080 screen recording (12 seconds long). Here’s a comparison between the original MP4 and the exported GIFs.
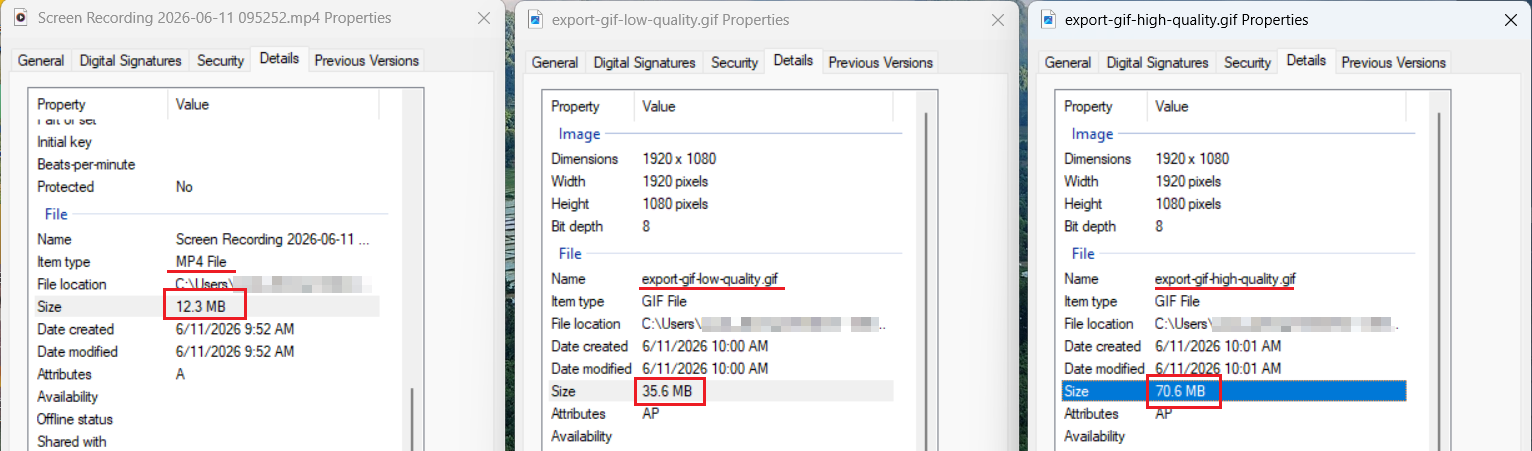
As you can see:
- The original MP4 file is 12.3 MB
- The low-quality GIF increases to 35.6 MB
- The high-quality GIF goes up to 70.6 MB
This happens because GIF uses a very different compression method, but that’s not the main point here.
In terms of visual result:
- The high-quality GIF looks almost the same as the original recording
- The low-quality version is still smooth, just not as sharp
Imperfect but usable
The GIF export feature in Snipping Tool is quite basic and doesn’t offer much control.
For example, you can’t adjust frame rate, resolution, or compression settings when creating a GIF from a screen recording.
Still, if your goal is simple — quickly turning a screen recording into a GIF on Windows 11 — it works surprisingly well.
Other ways to create GIF on Windows 11
If you need more control or want to convert an existing video to GIF, there are better options:
ScreenToGif
A free tool designed for screen recording and GIF creation. It allows frame-by-frame editing, resizing, and optimization.Online tools (such as EZGIF)
Useful when you already have a video file and just want to convert it to GIF quickly.Photoshop
Offers advanced control over GIF creation, but is more complex and usually unnecessary for simple tasks.
In short, Snipping Tool is great for quick results, while other tools are better if you need flexibility.
Final note
Snipping Tool’s GIF feature is not very advanced, but it fills a specific gap.
When you already have a screen recording and just want a quick GIF without extra tools, it’s a convenient option worth using.
